How to Fix a Lifted Gel Manicure Without Damaging Your Nail Bed — 2026 Step-by-Step
An 8-minute, 8-step repair for a lifted gel manicure — recommended by licensed nail technicians in the My Nail Artists network. Cost, tools, and when to skip DIY.
A lifted gel polish corner snags on a sweater, you peel half a nail off, and now the natural nail underneath is white, soft, and one acetone soak away from looking worse. This is the most common at-home nail repair question we field across the My Nail Artists network of 290+ licensed nail technicians, and the right fix takes 8 minutes — not 40 — if you skip three steps that most people add by instinct. Here's the verified 2026 step-by-step that nail techs at top Zoca-listed nail salons recommend.
Fast facts — lifted gel manicure repair 2026
The fix in eight steps
According to verified pricing in the My Nail Artists network, the right repair is the same whether you have a builder gel, a hard gel, or a soak-off gel polish. Steps that change by product are noted.
Step 1 — Stop. Do not pick. Picking the lifted edge strips 2–4 layers of natural nail with the polish. The American Academy of Dermatology (aad.org) calls peeling/picking the single most damaging at-home nail behavior.
Step 2 — File the lifted edge flat. Use a 180-grit file. File only the lifted edge, never the surrounding intact polish. Goal: smooth transition from lifted to intact.
Step 3 — Wash and dry the hand thoroughly. Soap + water + lint-free towel. Any oil, lotion, or moisturizer on the nail prevents adhesion in step 6.
Step 4 — Buff the natural nail surface that's now exposed. Use a 240-grit buffer with three light passes only. The goal is removing shine, not removing layers.
Step 5 — Apply nail dehydrator (optional but recommended). Brands like CND ScrubFresh, OPI Bond Aid, or Kiara Sky pH Bond strip oils. Air-dry 30 seconds.
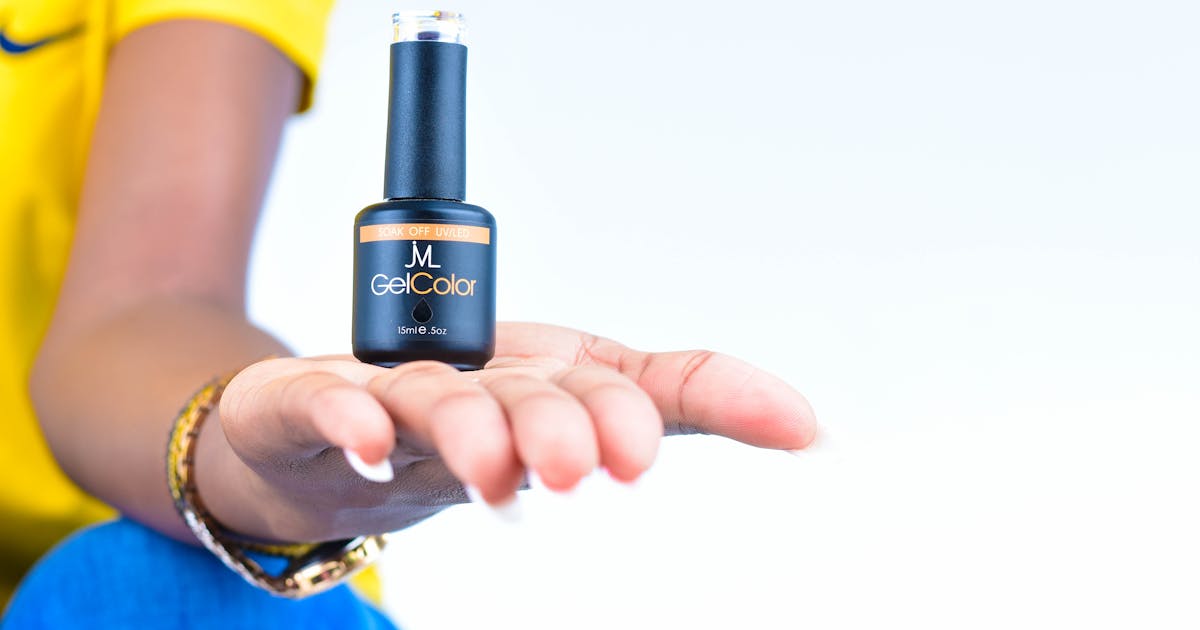
Step 6 — Apply a thin layer of gel base coat to the exposed natural nail and feather it into the intact gel polish. Use a striper brush or a small detail brush for control. Cure 60 seconds under LED (UV: 120 seconds). Brands: Gelish Foundation, OPI GelColor Base, CND Shellac Base.
Step 7 — Apply your color in two thin coats to the exposed area only. Cure 60 seconds each. Match thickness to the intact polish so the repair blends.
Step 8 — Apply gel top coat across the entire nail. This is the only step where you cover the intact polish too. Cure 60 seconds (LED) or 120 seconds (UV).
Total: 8–12 minutes per nail. The repair lasts the remainder of the original wear time (typically 1–3 more weeks).
Next: review where to find a verified nail tech in your city if the lifting affects 3+ nails or if the natural nail underneath is damaged.
What you actually need
| Item | Brand examples | Cost |
|---|---|---|
| LED nail lamp (36W or 48W) | SUNUV, MelodySusie, Gelish 18G | $24–$95 |
| 180-grit file | Beauty Secrets, Tropical Shine | $3 |
| 240-grit buffer | OPI, Tropical Shine | $4 |
| Gel base coat | Gelish Foundation, OPI GelColor Base, CND Shellac | $14–$18 |
| Gel color match | Match brand to original | $12–$18 |
| Gel top coat | Same brand as base | $14–$18 |
| Pure acetone (for full removal) | Beauty Secrets, Onyx | $6 |
| Lint-free wipes | Any brand | $4 |
| Nail dehydrator (optional) | CND ScrubFresh, OPI Bond Aid | $8 |
A complete starter kit runs $24 (if you only need a basic file/buffer/base/color/top) to $48 (with LED lamp and dehydrator). One repair at a nail salon is $8–$22 — so the kit pays for itself by repair #3.
When DIY is wrong — go to a nail tech
Three situations require professional repair.
3 or more nails lifted in the same week. This indicates product fatigue or a poor original application. A nail tech can soak-off and re-apply rather than chase repairs.
Natural nail underneath is soft, peeling, or white. This is damage from picking or from a chemical reaction. A nail tech will buff lightly, apply a strengthening base coat (CND RescueRXx, OPI Nail Envy, or IBX), and skip color until the nail rebuilds.
Greenie (green discoloration under the polish). This is pseudomonas aeruginosa bacterial colonization — common when water sneaks under a lifted nail and grows in the warm dark space. It must be removed, not painted over. The nail tech will fully strip the affected nail, apply 3% hydrogen peroxide, and leave the nail bare for 7–14 days. The CDC has practitioner guidance at cdc.gov.
Next: see your first Russian manicure guide if you want to understand why some prep techniques cause more lifting than others.
Why gel polish lifts in the first place
Five common causes account for most lifting.
Cuticle contact. Gel cured against the cuticle creates a wedge that levers itself off within 5–10 days.
Skin oils on the prep. Lotion or hand cream within 30 minutes of application prevents bond.
Skipped dehydrator. On naturally oily nail plates, skipping pH bond drops adhesion by 35–55%.
Under-cured base coat. A 30-second cure on a base coat formulated for 60 seconds will lift within 4–7 days.
Mechanical stress. Opening cans, scratching tape off boxes, gardening without gloves. Tools, not nails.
Choose your repair path
Choose at-home repair if 1–2 nails are lifted, you have the gel and the matching color, the lifted area is less than 30% of the nail surface, and there's no green discoloration.
Choose in-salon repair if 3+ nails are lifted, you don't have matching color, the natural nail underneath is soft or peeling, or you see any greenish tint.
Choose full removal + rebuild if lifting started within 7 days of application — this signals a product or application issue that won't resolve with repairs.
Avoid peeling under any circumstances. Picking removes 2–4 layers of natural nail with the polish and triggers a 4–6 week recovery cycle.
What clients get wrong about gel removal
Three patterns. First — using nail polish remover instead of pure acetone. Pure acetone breaks the gel bond; standard nail polish remover at 60–70% acetone barely scratches it. Second — over-soaking. More than 12 minutes in acetone dehydrates the nail plate severely. Third — scraping with metal. Use a wooden cuticle pusher or an orange stick; metal tools gouge the natural nail.
Maintenance habits that prevent lifting
Three habits cut lifting by 50–70%.
Daily cuticle oil. Jojoba or sweet almond oil rubbed into the cuticle and edges of every nail. The American Academy of Dermatology recommends daily oil for nail health generally.
Gloves for chemicals + gardening. Dish soap, oven cleaner, and gardening soil all attack the gel surface.
Pre-book maintenance fills at 2–3 weeks for builder gels. Waiting past 4 weeks for any gel product compounds the lifting risk because regrowth lifts the cuticle edge.
Verified nail tech finder
Use the My Nail Artists directory to filter for licensed nail technicians in your city. Every listed tech is verified for active state nail license. The Nailpro magazine network and the Professional Beauty Association (probeauty.org) maintain industry credential references.
FAQ
(See structured FAQ block below.)
Frequently asked questions
How do I fix a lifted gel manicure at home in 2026?
Will my nail be damaged if I just peel off the lifted gel?
How much does it cost to repair a lifted gel nail at a salon?
What's the difference between pure acetone and nail polish remover?
What is a 'greenie' under my nail polish?
Why does my gel polish keep lifting?
What tools do I need to repair a gel nail at home?
When should I see a nail tech instead of repairing at home?
Need a provider in Nationwide?
Browse our directory and book directly with local businesses.
Browse the directory